Category Archives: Recipes

Chocolate Black Bean Muffins

One carryover from having gestational diabetes twice is that I have become at least somewhat more aware of how many carbohydrates I’m consuming in my regular diet. Carbs aren’t inherently bad, of course, but the GD diet emphasizes combining a moderate amount of carbs with protein to help control blood sugar. For example, banana and peanut butter, an egg and toast, crackers and cheese, etc.

While I’m glad I don’t have to follow that diet anymore, I wanted to find a way to incorporate more protein into my diet, especially when it comes to snacking. When hungry, I’m quick to just grab a handful of something, and that something tends to be all carbs. It seems a lot of protein sources are messier (peanut butter, cheese), need to be cooked first (meat, eggs), require refrigeration (meat, cheese, eggs), and are just generally a bigger hassle when you want something quick and/or portable.

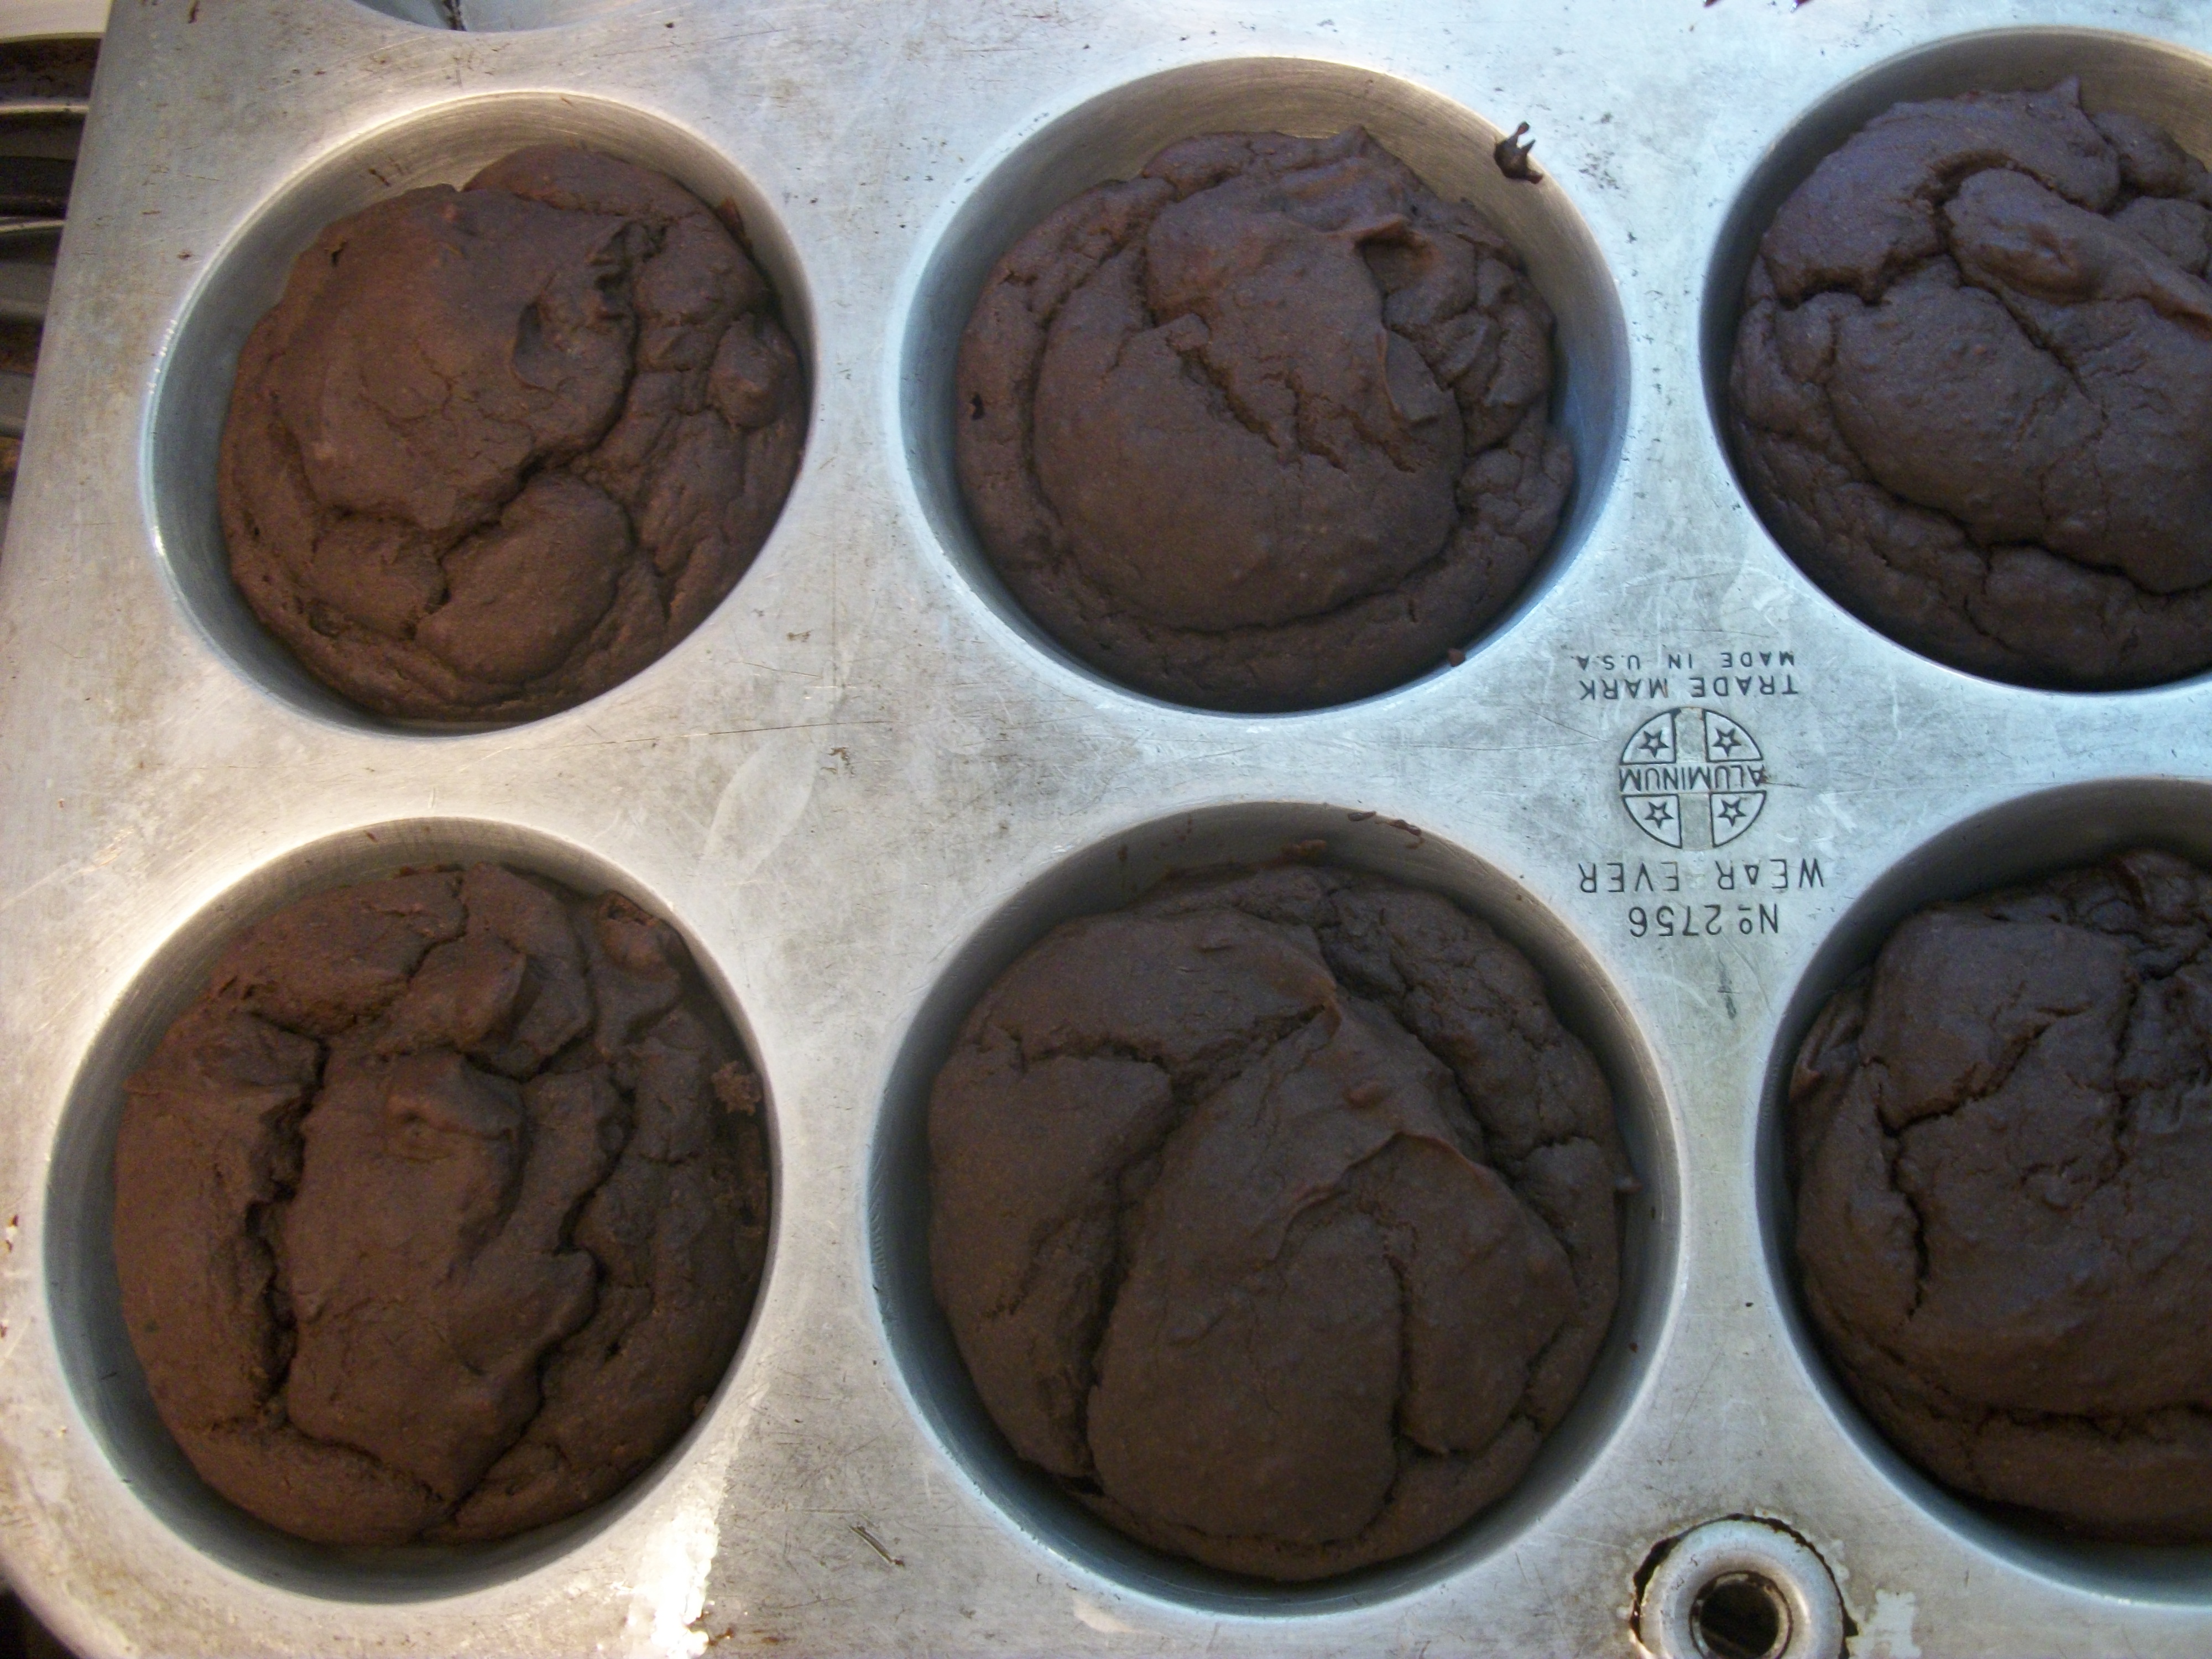
Well, I can’t claim to solve all of those problems with one recipe, but I will say that I have been looking for a good, reasonably healthy muffin recipe for a while now, something both my toddler and I liked, and so far this has been my favorite. The fact that they’re very chocolatey doesn’t hurt either! According to my calculations, each muffin contains about 5 grams of protein, and 2+ of fiber.

100_2893

Some people may be weirded out at the idea of bean muffins, but I really can’t taste the beans, especially with all the chocolate in there, though I think they add a more robust flavor. The texture is a bit different, but I like it.

Being grain-free, these muffins would work great if you’re avoiding wheat, gluten, or just grains in general. Or if you’re like me and aren’t, but think they’re healthy and delicious, and love chocolate. They’re also very portable for snacking on the go.

Ingredients:
1 15.5-ounce can of black beans, drained
2 small bananas
1/2 cup peanut butter
2 tsp vanilla extract
1/2 cup cocoa powder
1 tsp baking powder
1/3 cup sugar or other sweetener*
1/2 tsp salt
2 eggs
1/2 tsp guar gum or xanthan gum**

Directions:

Preheat oven to 375 degrees.

Combine the drained beans, banana, peanut butter, and vanilla extract in a food processor, and blend until smooth. (Truth be told, my food processor is too small to fit the peanut butter too, so I just blend it in with the mixer later. It still works.)

Transfer the bean mixture to a bowl, and add cocoa powder, baking powder, sugar (or other sweetener), salt, eggs, and guar or xanthan gum, blending well with an electric mixer. Once everything is well blended, spoon batter into a greased muffin tin until all 12 cups are filled about halfway. The batter will be fairly thick. Bake for 20-25 minutes. I usually do 22 or 23.

I find these keep best in the fridge.

* – I have also tried this with Truvia, and find that about half of a 1/3 cup measure works best — too much and you get a bit of an aftertaste.

** – If you regularly do gluten-free baking, you probably have either guar or xanthan gum (or both) on hand. If you don’t, you probably don’t need to go out and get some just for this recipe, but the muffins will definitely be more crumbly without it. Vital wheat gluten may work as well, but I haven’t tested that.

Gluten-Free Fried Dough

A year ago we went to the fair and Laura had fried dough.  Being gluten-free, of course, I couldn’t have any.  So I came home and looked up a recipe.  They do exist.  And maybe some of them are pretty good.  But the one I found was pretty heavy on the eggs, and didn’t really taste much like fried dough.  (I know, the eggs provided some of the fat that held it together, but it just didn’t taste right.)

Anyway, why am I bringing up the subject now?  Because a couple weeks ago, I discovered how to make GF fried dough by accident.

A couple weeks ago Laura used my biscuit recipe, and while I was eating the nice, piping hot biscuit, a thought crossed my mind: I bet if I put BUTTER and CINNAMON SUGAR on this biscuit, it would have the taste and texture of fried dough.

I was right.

So forget the fried dough. Make my biscuits and go crazy with the sugar coating.  Done.


Gluten-Free Biscuits

Gluten-Free Biscuit

Gluten-Free Biscuit

Oh my, oh my, what splendid texture these biscuits have!  Golden brown and crisp on the bottom and top, and soft and moist in the middle!  I decided I needed to type up this recipe before I forgot what I did!

Ingredients

  • 1/3 cup tapioca starch
  • 2/3 cup potato starch
  • 1/3 cup brown rice flour
  • 1/3 cup sorghum four
  • 1 tablespoon baking powder
  • 1/2 teaspoon salt
  • 1 teaspoon xanthan gum
  • 6 tablespoons butter (chilled and cubed)
  • 2 tablespoons vinegar
  • 1 cup (minus 2 tablespoons) milk

Instructions

  1. Preheat the oven to 425 degrees
  2. Pour the vinegar in a 1 cup measuring cup, and fill the cup the rest of the way with milk.  Stir together, and let it set while continuing with the next steps
  3. Combine all the starches, flours, baking powder, salt, and xanthan gum.  Whisk together to blend well.
  4. Add the butter and cut it into the mixture with a pastry cutter, until it resembles coarse crumbs.
  5. Add the milk and vinegar mixture, and mix only until the mixture is moist.
  6. Spray a cookie sheet with cooking spray.
  7. Scoop the dough onto the cookie sheet, dividing it into 8 equal scoops.  This is messy if you try to do it by hand, so you may want to use a spatula or large spoon sprayed with cooking spray.
  8. Cook for 20 – 25 minutes, or until the biscuits are nicely browned.
Gluten-Free Biscuits

Gluten-Free Biscuits

What made these great (in my opinion) is their wonderful texture.  Like any gluten free bread/pastry, they don’t have quite as much flavor as the gluten alternative, but slather some butter, honey, jam, or maybe even cinnamon sugar on these, and you’ve got something wonderful!

(We ate half of these tonight, and tomorrow night we’re going to tip the remaining biscuits over and use them as the bread for tuna-melts.  I’m looking forward to that experiment!)

Gluten Free Crab Stuffed Haddock

Haddock with Gluten Free Stuffing

Haddock with Gluten Free Stuffing

Crab Stuffed Haddock has been one of our favorites for awhile, but there are a couple problems with it.  First, it’s very expensive to make, and second, we really love the “stuffed” part of the meal, and there’s never enough of it.

So this is my own version of crab stuffed haddock, which really is not crab stuffed haddock at all – it’s more like “crab-stuffing smothered haddock,” or “crab-stuffing haddock casserole.”  There’s enough “stuff” with the fish that we don’t feel like we need to have a whole fillet apiece, so it costs half as much as the actual “stuffed” version.

Ingredients

  • 2 haddock fillets
  • 1/4 of a yellow onion, diced
  • 1 garlic clove, minced or pressed
  • 4 slices gluten free bread (we use this bread recipe), cubed
  • 1 plum tomato, seeded and chopped
  • 1/2 cup grated Parmesan and/or Romano cheese
  • 1 can crab meat
  • 1 tablespoon lemon juice
  • 3 eggs, beaten
  • 3 tablespoons butter, melted
  • olive oil
  • 1/4 teaspoon salt
  • 1/4 teaspoon pepper

Instructions

  1. Preheat the oven to 375 degrees.
  2. Saute the onion and garlic over medium-high heat in the olive oil. Remove from heat.
  3. Stir in the bread cubes, tomato, lemon juice, cheese, crab meat, salt and pepper.
  4. Pour the beaten eggs over the mixture and thoroughly stir until all the stuffing mixture is moistened.
  5. Lay the two haddock fillets out flat in a sprayed 7×11 baking dish (you can probably use another size, but the haddock fillets fit perfectly in this size dish!).
  6. Since this recipe makes four servings, cut each fillet in half before spreading on the stuffing; this will make it easier to take out individual servings.
  7. Rub some olive oil onto the top of the fillets.
  8. Spread the stuffing mixture over the top.
  9. Cover with foil.
  10. Bake for 20 minutes at 375, then remove the foil and bake for an additional 10 minutes.


Gluten-Free Crackers

Gluten Free Crackers

Gluten Free Crackers

The last time communion was served at our church I started thinking about the fact that I can no longer participate due to my problems with gluten.  That got me started thinking about unleavened bread, and I started looking online for gluten-free cracker recipes.  I found a few that looked like they might work, but they called for rolling out dough (usually between sheets of parchment paper).  I hate rolling out GF dough, so I decided I was going to invent my own recipe.  Attempt number one was a disaster (a disaster so disastrous that we almost needed to clean the oven when I was done!).  Attempt number two was less disastrous than the first (I actually ate the crackers, instead of throwing them away, and no injury was inflicted upon the oven).  The third attempt was what I would consider a success.  The flavor was quite nice, and the crackers remained crunchy, even after a couple days.   Since I avoided the “roll it out” process, you’ll notice that my crackers are very non-uniform.  That just adds to their charm, in my opinion!

Ingredients

  • 3/4 cup potato starch
  • 1/2 cup sorghum flour
  • 1/4 cup brown rice flour
  • 4 tablespoons butter
  • 1/4  teaspoon baking powder
  • 1/2 teaspoon salt
  • 1/2 teaspoon xanthan gum
  • 3/4 cup water
  • optional spices *

Instructions

  1. Preheat the oven to 400 degrees.
  2. Combine all the flours, baking powder, salt, and xanthan gum.
  3. Cut the butter into the mixture with a pastry blender, until the mixture resembles coarse crumbs.
  4. Add the water a bit at a time, stirring together with a fork as you do.
  5. Use a sprayed spatula to spread the batter evenly on a stoneware baking pan 10.5 x 15.5 (approximately 160 square inches).  Make sure you spread the batter as evenly as possible, to avoid very thick or very thin areas.  Thick areas will end up doughy, and thin areas will become too crisp/scorched.
  6. Use a knife to cut the batter into small squares, and a fork to pierce it.
  7. Place the baking pan in the oven and cook for 40 minutes.  After the first 30 minutes, you’ll want to start checking the crackers every few minutes.  If you see portions starting to brown, it’s time to pull them out!
  8. It’ll come out of the oven as one giant cracker, but it’ll easily snap into squares where you cut it with a knife before baking.
  9. Store in an airtight container.

*  I’ve tried a couple different ways of spicing up my crackers.  One way was to add a little bit of garlic salt and/or onion powder into the mix.  Another was to add some rosemary and thyme (I refer to them as my ‘Scarborough Crackers!’).  What else could you try?  Well, at some point I’m going to try adding some chili powder or cumin.  Maybe sometime I’ll try mixing in some pepper.  Experiment, and let me know what works for you!

Gluten-Free Swedish Meatballs

Swedish Meatballs

Swedish Meatballs

Do you know what Swedish Meatballs are?  I don’t.  I’ve had them many times, and for every person who has served them, there has been a very different recipe.  Maybe someday I’ll ask my Swedish relative for a precise definition, but in the meantime, this is my conglomeration of what I like best about different meatballs-in-a-gravy recipes I’ve had.

Plan on an hour to 1.5 hours to cook this, depending on how long you intend to let the sauce simmer.

We’ll make use of my Gluten Free Cream of Mushroom Soup recipe, but we’ll make some modifications to it, as follows:

  • Use beef broth instead of chicken broth
  • Add 1/4 large onion diced, and saute it along with the other vegetables.
  • add an extra 1/4 teaspoon of salt

Meatball Ingredients

  • 1 pound ground beef
  • 1 cup gluten-free bread crumbs/cubes (about one slice of this bread, shredded)
  • 1/4 teaspoon nutmeg
  • 1/4 teaspoon pepper
  • 1/2 teaspoon salt
  • a dash of garlic powder
  • 1/4 large onion
  • 1 egg, beaten
  • 1/2 cup milk
  • 1 tablespoon butter, melted

Instructions

  1. Preheat the oven to 375 degrees.  Yes, you could pan fry the meatballs, but once someone pointed out to me that I could bake them in the oven instead, I’ve never gone back to pan frying – it’s far more hassle than it’s worth!
  2. In a large mixing bowl, mix the ground beef, bread crumbs, onions, and the seasonings.
  3. In a separate bowl, beat the egg and mix in the milk and melted butter.
  4. Pour the liquid ingredients over the meat mixture and thoroughly combine.
  5. Either by hand, or using a handy-dandy meatball maker, make the meatballs and arrange them in a baking dish.
  6. Cook them for 1/2 hour at 375 degrees.
  7. While the meatballs are cooking, make your mushroom soup.
  8. 100_1785

    Swedish Meatballs

    Take the meatballs from the oven with a slotted spoon, so excess grease will drip out, and add the meatballs to the soup.

  9. Let it simmer as long as you like, until it’s as thick as you want it.  I usually let it simmer for about a half an hour.
  10. But what are you going to serve this on?  Well, it’s really up to you!  Serve it with gluten-free pasta, or maybe with rice, quinoa, or whatever grain suits your fancy!

This recipe feeds Laura and me for two meals, so it’s about 4 adult servings.

GF Mozzarella Sticks

Mozzarella sticks are delicious, but not something that’s usually on the menu for someone who’s avoiding gluten. So I thought I’d attempt to make a gluten-free version at home. I thought they turned out pretty well.

100_1749

Ingredients:

12 sticks of mozzarella string cheese, unwrapped
2 Tbsp rice flour (or any gf flour blend)
1 egg
1 Tbsp (ish) milk
Approximately 6 Tbsp gluten-free bread crumbs*
3 Tbsp corn meal
1 Tbsp dried parsley

*If you have gluten-free bread (see our recipe here), you can make gluten-free bread crumbs fairly easily by toasting the bread (I used two heel slices for this recipe and had some left over) until they are well done (without being too brown!) and then grinding them up in a food processor. You can also add seasonings if you like. I added about 1/2 a teaspoon of salt, a tiny bit of pepper, a few shakes of Italian seasoning, and about 1/4 a teaspoon each of garlic powder and onion powder.

Directions:

1. Cut the string cheese sticks in half, place them spread out on a piece of parchment paper, and put them in the freezer for at least an hour.

2. Once they are frozen, remove and set up 3 dishes for the coating. Dish #1: flour. Dish #2: the egg and milk, beaten together. Dish #3: the bread crumbs, corn meal, and parsley, mixed together.

(If you are baking them immediately, pre-heat the oven to 400 degrees F)
Take each stick and dip it first in the flour, then in the egg mixture, shaking off the excess, then into the crumbs, turning and pressing to coat as evenly as possible. Then place it back on the parchment paper.

Do this with all 24 sticks. Once you are finished, you can return the pan to the freezer to cook them at a later time, or you can put them right into the oven. Be careful about putting a baking dish straight from the freezer into the oven. Most types should be left out to thaw for a while first. But if you’re using parchment paper this is a non-issue, because you can very easily transfer the paper (if you have enough to grab on the edges!) into a separate dish for baking.

3. Bake at 400 for 4 to 5 minutes, and then turn the pan and cook 4 to 5 more minutes. I went a bit longer than 10 minutes on the ones in the picture, which is why they look a bit wider. Still just as delicious though!

Enjoy with gluten-free marinara sauce, or whatever condiment you prefer with mozzarella sticks.

Gluten-Free Pizza Crust

Gluten Free Pizza Dough

Gluten Free Pizza Dough

Pizza crust is not a hopeless cause for those who are gluten free, but it can be a bit frustrating.  In some ways, though, I prefer it.  I was never very good at stretching out a pizza dough and spreading it onto a pizza pan, but with this recipe, you don’t do any stretching; the dough is spread over the pizza pan with a spatula, because the texture and consistency is more like batter than dough.

Ingredients

  • 1 cup warm water
  • 2 teaspoons yeast
  • a squirt of molasses
  • 2 tablespoons oil
  • 1 egg
  • 1 tablespoon vinegar
  • 2/3 cup potato starch (NOT potato flour)
  • 1/3 cup tapioca starch (may be called tapioca flour)
  • 3/3 cup sorghum flour
  • 1 teaspoon xanthan gum
  • 1 teaspoon salt
  • 1/8 teaspoon baking powder

Directions

Preheat the oven to 375 degrees.

1. Combine the water and yeast and allow the yeast to dissolve.  Add all the other liquid ingredients and mix thoroughly (I use an electric hand mixer).

2. Combine all the dry ingredients and then blend into the liquid ingredients with the mixer. Continue mixing until the batter is smooth.

3. Spray a 15×14 cookie sheet (that’s a little over 200 square inches, in case you need to find alternatives to a 15×14).  Dump the batter onto the middle of the sheet and use a sprayed spatula to spread it evenly around.  Spread it right to the very edges of the sheet.

4. Place the crust into the oven and cook for 30 minutes, without toppings.  While the dough is cooking, prepare veggies, meat, sauce and cheese you will be using to top your pizza.  After 30 minutes, take the crust out, raise the oven temperature to 425, and add toppings to the crust.  Your sauce and toppings can go pretty much to the edge of the pizza; be aware that the edges will probably be quite crispy, so it’ll be nice to have some toppings there!

5. Put the pizza back in the oven and cook for 10 to 15 minutes, depending on how brown you like your cheese to be!

And that’s it!  The pizza in the picture is a chicken pizza with white sauce, mushrooms, onions, and red peppers.

Gluten Free Apple Crisp

“You don’t need to give me credit for this recipe.”

“But mom, if I don’t, people will think it’s my recipe, and that wouldn’t be honest!”

“Whatever!”

So, yeah, this isn’t my gluten-free recipe.  It sure is yummy!

Ingredients

  • Filling
    • 8-10 medium sized apples, peeled and sliced
    • Mix together:
    • 1/3 cup sugar
    • 2 Tbsp. cornstarch
    • ½ tsp. cinnamon
    • Dash of nutmeg and cloves if desired.
  • Topping
    • ¾ cup of sugar
    • ¾ cup of white rice flour
    • 1 tsp. cinnamon
    • ¼ tsp. of nutmeg
    • Dash of cloves
    • 1 stick of butter or margarine.

Instructions

1. Stir together all the filling ingredients and place in an 8×8 or 9×9 inch pan.

2. Cut butter into the other topping ingredients until mixture is crumbly.

3. Sprinkle topping over apples and pat down gently.  Bake in a 375 degree oven for 50 to 60 minutes.

Serve warm with vanilla ice cream or whipped cream.